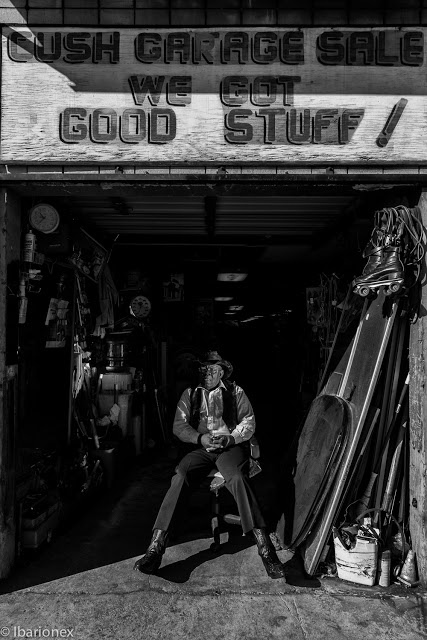
Here is a short tutorial and how I use Lens Profiles and corrections in Adobe Lightroom. I also quickly demonstrate how I utilize Nik Silver Efex Pro to convert a
color image in a black and white photograph.
Discover what Adobe Lightroom 4 has to offer you and your photography by clicking on the link below. Download the free full-function trial version today.
And take advantage of the a 14-day free trial of Squarespace to create your own photo website and blog. Click below to get started.
In this video, I demonstrate how I use keywords to organize my catalog of images. I share how I apply keywords during important and then again after making my initial selects from a shoot. This can greatly help you to be more efficient in organizing and searching for your images.
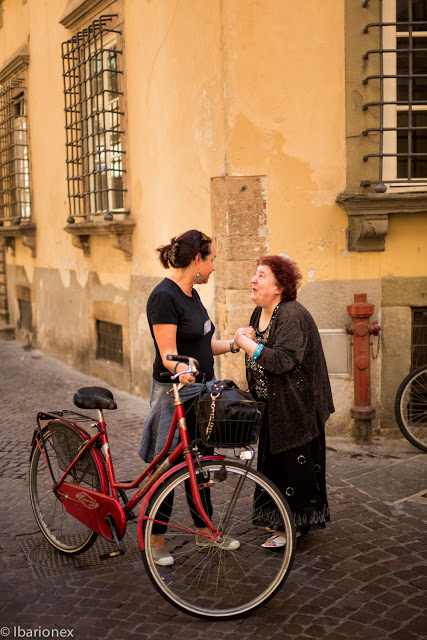
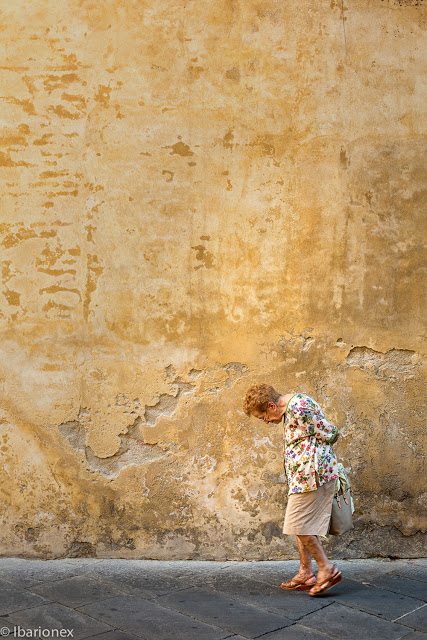
Here is a short video in which I demonstrate how I use Adobe Lightroom to edit down thousands of images from my recent vacation. Using rankings, collections and the Compare view, I demonstrate how to create a more manageable collection of images that best capture the story behind my travels.
This is a technique which I use not only for winnowing down images from my travels, but also large bodies of work including personal projects.
If you like these videos, please subscribe to the YouTube channel for future releases.
Short cuts can be an invaluable tool when using any application. It makes work efficient by saving you time from having to navigate the cursor to the menu bar. The challenge I have is just remembering those short cuts, especially when I am using a variety of applications.
Cheat Sheet for the Mac OS resolves this by providing a complete list of short cuts for virtually any open application. Simply press and hold the Command button and a "cheat sheet" appears on your screen detailing all the short cuts for that particularly app. Particularly helpful for when I'm using Adobe Lightroom or Photoshop, it also becomes a great tool for when I'm using my web browser or Mail.
The customization on this application is minimal. You can set it up to launch on start-up and change the duration that it remains up once you release the key, but that's about it. However, that is more than enough as it provides me a great way to remember a shortcut that's eluding me.
The application is free and is available through App Store.
Color accuracy is very important to digital photography and it revolves around our ability to get the white balance right. In this video, Ibarionex demonstrates how he considers white balance and how he uses Adobe Lightroom to achieve the best color accuracy.
In a perfectly clean, digital world it is easy to romanticize the film look and the results we achieved after spending hours in a chemical darkroom in the past. The funny thing is, back then we were usually trying to make perfectly clean, neutral, realistic images and we often cursed the affects the analog process imposed on us. When digital came along, I for one couldn’t wait to leave behind problems with dust and scratches and the inconsistency of chemicals. The promise of never having to spot a print again was a Nirvana I couldn’t wait to inhabit.
Fast forward a decade or more and the popularity of Instagram and the Impossible Project and their like demonstrate a thirst for an analog feel in a digital age. Admittedly, a lot of ‘digital sucks’ hipsters never knew a time when there wasn’t a choice between analog and digital and, like most new converts, they have been born-again as puritanical zealots. But I digress; for the rest of us who want the flavor of analog processes without the toxic chemicals there are many options at many price points. From the cheap (though not cheap for Facebook) Instagram at one end to plugins like Aliens Skin’s Exposure 4 at the other. But we’ll get back to price in minute; for now let's look at what Exposure 4 can do for you.
Alien Skin's Exposure 4 UI
Instagram on steroids?
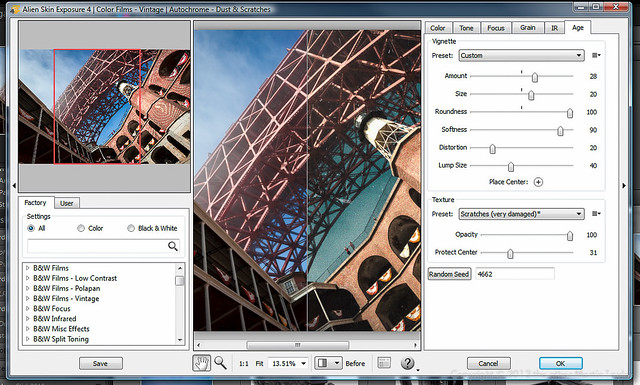
It sort of is but in another way this comparison belittles Exposure 4. It’s nearly as easy to use as Instagram. For the purposes of this review I was using it mainly within Lightroom but I also tried it from Elements and Photoshop too and it felt properly integrated into them all. From Lightroom ‘Edit in Exposure 4’ launches the Exposure plugin and it fires up pretty quickly. Even without reading and documentation you will be up and running in no time. A preview image takes up the center of the window showing the effect of your filter in real time. You choose your preset or saved custom preset from the list in the bottom left quarter. The top left quarter preview image shows the effect of a preset just as you roll over it, even without clicking. It also shows the whole image with a indicator frame showing what area of the image you’re looking at in the main preview window. This is useful when you have zoomed into your main image (using the scroll wheel achieves this) and got lost within your image.
Color Presets in Exposure 4
B&W Presets in Exposure 4
There are hundreds of presets to choose from creating effects that date back from the dawn of photography through to the latest film stocks and trendy cross-processing. You can filter the effects by monochromatic and color of you can search if you remember any part of the name of the effect you are looking for.
Civil War Fort Point Powder Room processed in Exposure 4
Once you have applied a preset you can use the tabbed controls on the right side of the window to customize the result. This is useful if, like me, you found the presets a little heavy-handed and you wanted to dial back the effect. Before applying an effect I did try to get the exposure as accurate and as neutral as I could in Lightroom. Even so, after applying an effect, I did often find some range of tones would be looking much darker than I wanted. This is why I found the levels curve adjustment within the tool so useful. I’m sure I could have tweaked the effect after the fact when I was back in Lightroom but it was so easy to correct in Exposure I found myself using the levels on nearly every image I applied a preset to.
Although the presets may be a bit unsubtle out of the box that’s not to say that the effects you can achieve are not professional. When you tweak a preset and you like the results you can save your own presets for future use. The film grain effects, borders and various alternative technique overlays are amazingly convincing. The effects you can achieve are pretty inspiring and you can find yourself wasting hours on one image messing around with presets and tweaking them as you see fit. On the other hand, if you have a clear idea of what you want to achieve you can very quickly find a suitable preset to achieve it, tweak it to perfection and be done with the image in soft order. A nice feature is that, in Lightroom, you can work on several images at once. This means that, if you find the look you want and apply it to one image you can apply a consistent look to other images you think will benefit from the same look.
Conclusion
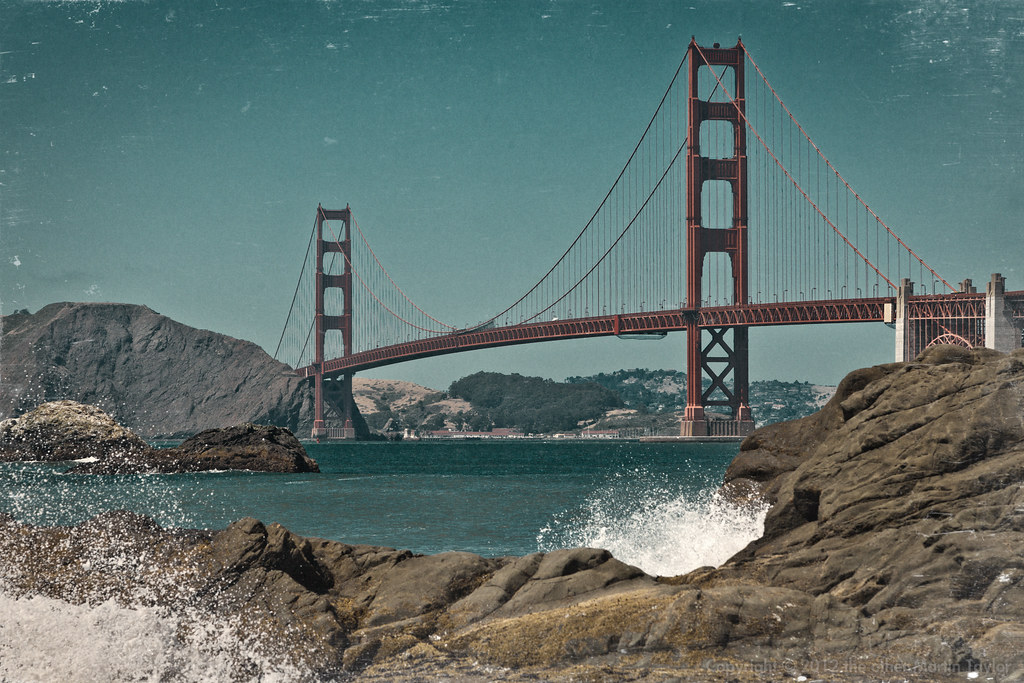
Golden Gate Bridge processed in Exposure 4
As someone who loves ‘straight photography’ I’m conflicted by the use of push-button effects to add funk to pictures. I love the ease of use and flexibility of Exposure 4. I like how it integrates into Lightroom, Elements and Photoshop equally well. Some of the effects you can achieve are amazing and look very authentic to my eye. It is so easy to use I do feel a little guilty showing the resulting images: am I being a fraud showing an effect I haven’t earned? Would I feel less guilty if it had taken me an hour to achieve the same effect following some long-winded Photoshop tutorial?
Truth be told, this product is probably not aimed at me. I am not rich enough or trendy enough to be their target audience. I do see Exposure 4 being incredibly useful for photographers who need a grungy, retro-look with a fast turn around. Senior and wedding photographers may find it pays for itself very quickly if you have a certain kind of client. For those kind of photographers the relatively high price might be an advantage because it will keep the riff-raff out. Uncle Jim is unlikely to buy Exposure 4 if he’s currently using Elements to process his images. This means that even the out-of-the-box preset looks will not be seen that commonly on Flickr. This exclusivity maybe what you need if you’re selling an expensive post-processed look as part of your package. Certainly this grungy look is very fashionable at the moment. Exposure 4 is one of the simplest, most customizable ways to achieve many of these looks resulting in very professional looking images. If you need this high-concept look, Alien Skin’s Exposure 4 may be just what you’re looking for.